Learning how to paint RV walls is one of the best DIY skills you can learn, as a fresh coat of paint can completely change the look of your camper for cheap.
Plus, unlike complex RV remodels, painting your RV is a project most DIYers can handle with the right knowledge, prep work, and materials.
That’s why I put together this RV painting resource, which covers everything you need to know about painting RV walls. From essential prep work to final touches, including tips to ensure your paint job holds up to the extreme temperatures, humidity, and movement common in RV life.
Before You Start…
Understanding RV walls and how they’re put together is important before you pick up a paintbrush.
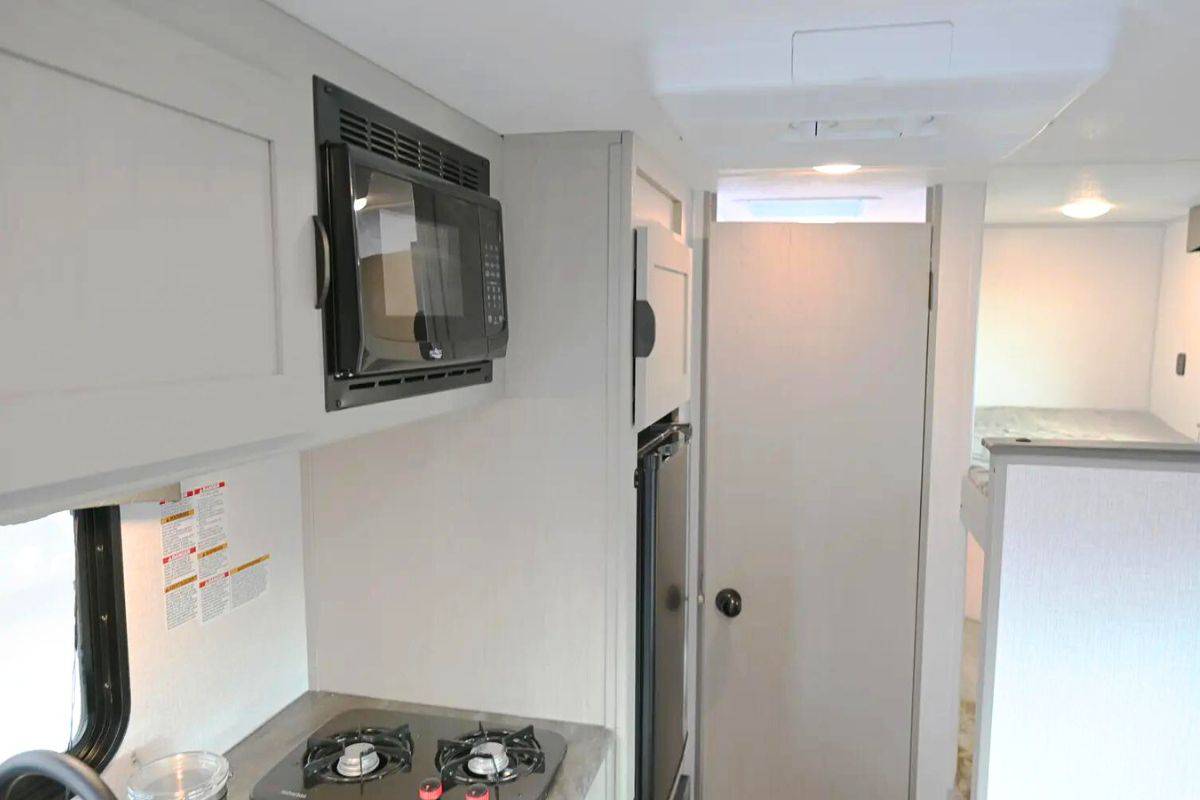
Unlike standard home walls, RV walls typically consist of thin wallpaper or vinyl overlays adhered to plywood or particle board, affecting the paint application, type of paint, and tools you’ll need.
What Tools You’ll Need
Preparation Tools:
- 100-220 grit sandpaper
- TSP cleaner or heavy-duty degreaser
- Spackle or wood filler
- Putty knives
- Caulk gun
- Tack cloths
- Clean rags
Application Tools:
- Quality angled paintbrush (1.5-2 inches)
- Paint roller
- Short-nap roller covers (1/4 inch)
- Paint trays
- Paint sprayer (optional)
- Extension pole for rollers
Protection Materials:
- Drop cloths
- Painter’s tape
- Plastic sheeting
- Masking paper
- Safety equipment (gloves, eye protection, respirator)
- Ventilation fans
Step 1: Choose the Right Primer & Paint
Selecting the right primer and paint for your RV walls can make the difference between a long-lasting finish and one that peels within months.
Recommended Primers for RV Surfaces
The right primer is your secret weapon for successfully painting RV walls, as it creates the crucial foundation that determines whether your paint job will last for years or peel and crack.
While there are hundreds of primer choices, these are some of the most popular ones delivering the best adhesion.
- Sherwin-Williams Extreme Bond Primer: Best overall for RV walls
- Zinsser Bulls Eye 1-2-3: Good budget-friendly option
- KILZ Adhesion Primer: Great for high-moisture areas
Note: Never skip the primer step, even if using paint with a built-in primer. RV walls are notoriously slick and need proper preparation for paint adhesion.
Best Types of Paint for RV Walls
When it comes to painting RV walls, not all paints are created equal, as you need a specific type that can handle the unique challenges of RV life, including constant movement, temperature changes, and high humidity.
These popular and proven paint options will give you the most durable and beautiful finish for your camper’s walls.
- Sherwin-Williams Duration Home Interior Acrylic Latex: Exceptional durability
- Benjamin Moore Aura: Superior adhesion and moisture resistance
- PPG SPEEDHIDE Max Interior Latex: Professional grade with high-performance durability
Pro Tip: Always choose a water-based latex paint. While oil-based paints are durable, they become brittle over time and can’t handle the flexing of your RV during travel.
Paint Finishes & Durability Factors
Choosing the right paint finish for your RV walls isn’t just about aesthetics, it’s about selecting a finish that can withstand the demands of mobile living while still looking great.
The finish you select will impact everything from how easy your walls are to clean to how well they hide imperfections. Below are the most common paint finishes and their pros and cons:
- Eggshell: Offers a good balance of durability and style with a subtle luster that hides wall imperfections well, though it may need slightly more frequent cleaning in high-traffic areas.
- Satin: Provides excellent durability and is easy to clean with a beautiful low-luster finish, but tends to show application flaws and touch-ups more noticeably than eggshell finish.
- Semi-gloss: Delivers superior moisture resistance and cleanability ideal for bathrooms and kitchens, however, its higher sheen drastically highlights every wall imperfection and can make larger walls look too shiny.
- Flat: Hides wall imperfections well and provides a sophisticated modern look, but shows every scuff, is nearly impossible to clean without taking off paint, and lacks the durability needed for RV life.
Color Selection Tips for Small Spaces Like Campers & RVs
While you might be tempted to get creative with bold colors or complex patterns, it’s best to choose a color scheme that balances your style with practical considerations.
When choosing a paint color these are the most important factors to keep in mind:
- Light colors make spaces feel larger, while darker ones do the opposite
- Stick to 2 to 3 colors maximum throughout the RV
- Consider using one color for continuity in the main areas
- Test samples in different lighting conditions
- Remember darker colors show imperfections more easily
Quantities Needed & Coverage Calculations
For an average-sized RV (30-foot):
- Primer: 2 to 3 gallons
- Paint: 2 to 4 gallons (depending on color change)
- Plan for 2 to3 coats of paint
- Add 20% extra for touch-ups and mistakes
Calculation Formula:
- Measure wall height × length of each wall
- Subtract windows and cabinet space
- Multiply the total square footage by 1.5 (for multiple coats)
- One gallon typically covers 350 to 400 square feet
Pro Tip: Don’t try to save money by buying cheap paint. The additional cost of premium paint ($40-60 per gallon) is worth it for the superior coverage and durability. Plus, it often requires fewer coats and lasts longer.
Step 2: Prep Work (Critical Success Factor)
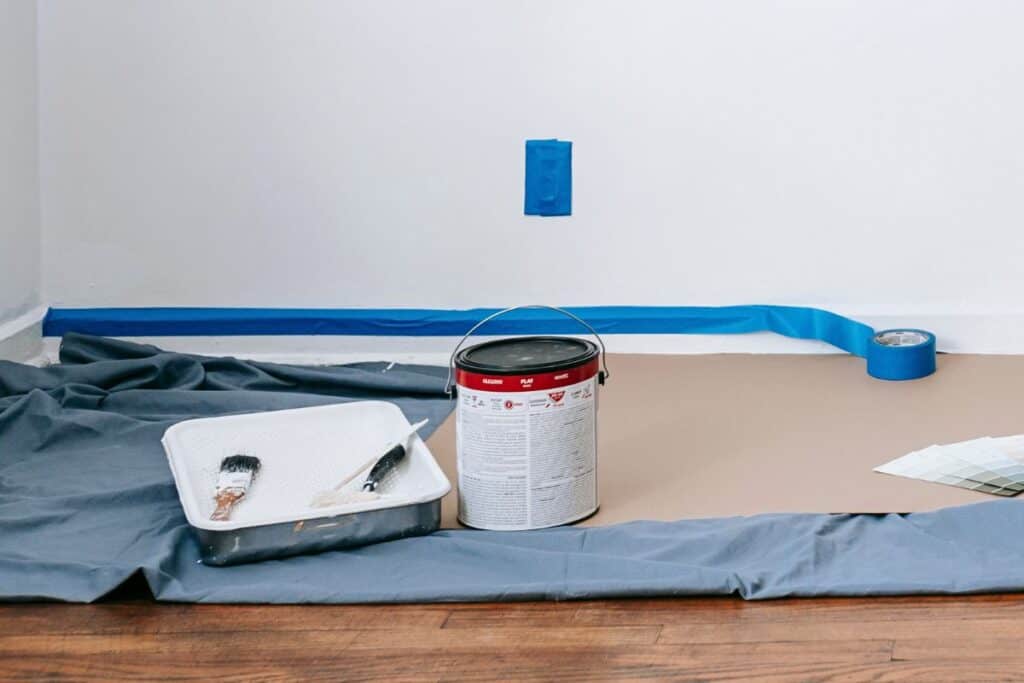
Your RV wall painting project hinges almost entirely on proper preparation. As every experienced RV renovator will tell you, prep work accounts for about 90% of the job. Rushing through this phase is the number one reason most RV paint jobs fail.
While it might be tempting to jump straight into painting, investing time in proper preparation will save you countless hours of frustration and potential repaints.
Cleaning & Degreasing Walls
Before any other prep work can begin, your RV walls need a deep clean.
RV walls accumulate more grime than you might realize, especially around cooking areas and near ceiling vents where dust and grease particles settle.
Start by using TSP (trisodium phosphate) cleaner, which is specifically designed to prep surfaces for paint. Mix the TSP according to package directions and wash every inch of the wall surface with a damp washcloth. Pay special attention to areas around windows, vents, and the kitchen where oils and condensation tend to collect.
After the initial TSP cleaning, follow up with a clean washcloth rinse to remove any residual cleaner. Allow the walls to dry completely (this typically takes 4 to 6 hours depending on ventilation and humidity levels).
Surface Inspection & Repair
With clean walls, you can now properly inspect the surface for damage.
Here’s what to look for:
- Loose or bubbling wallpaper
- Gaps at seams
- Water damage stains
- Uneven surfaces
- Previous repair attempts
Take your time during this inspection phase. Good lighting is crucial. Use a bright work light and scan the walls at different angles to spot imperfections. Mark problem areas with painter’s tape for easy reference when you start repairs later.
Sanding & Surface Preparation
RV walls typically have a slight texture and a factory finish designed to repel stains, and unfortunately, paint. Proper sanding creates a surface that paint can grip.
Use fine-grit sandpaper between 180 and 220 grit for initial sanding, being careful not to sand through the vinyl wall covering. A pole sander or orbital sander can make this job easier, but be gentle, you’re just scuffing the surface, not removing material.
After your initial sanding, wipe down the walls with a tack cloth to remove all dust.
Then inspect the surface by running your hand over it, it should feel slightly rough but not deeply scratched. Pay special attention to areas around windows and doors where the factory finish might be more worn.
Masking & Protection
The final preperation step is protecting everything you don’t want to be painted.
This process done right can take a good amount of time but will save hours of cleanup and greatly improve the result.
- Remove all hardware, switch plates, and vent covers
- Mask off windows, floors, and ceiling edges
- Cover all cabinets and fixed furniture
- Protect your floors with heavy-duty drop cloths
- Ensure good ventilation while protecting from dust
Remember: Proper prep work might seem like a lot, but it’s the foundation of a successful RV painting project. Each step builds on the previous one, creating a surface that will accept and hold paint for years.
Step 3: RV Wall Priming
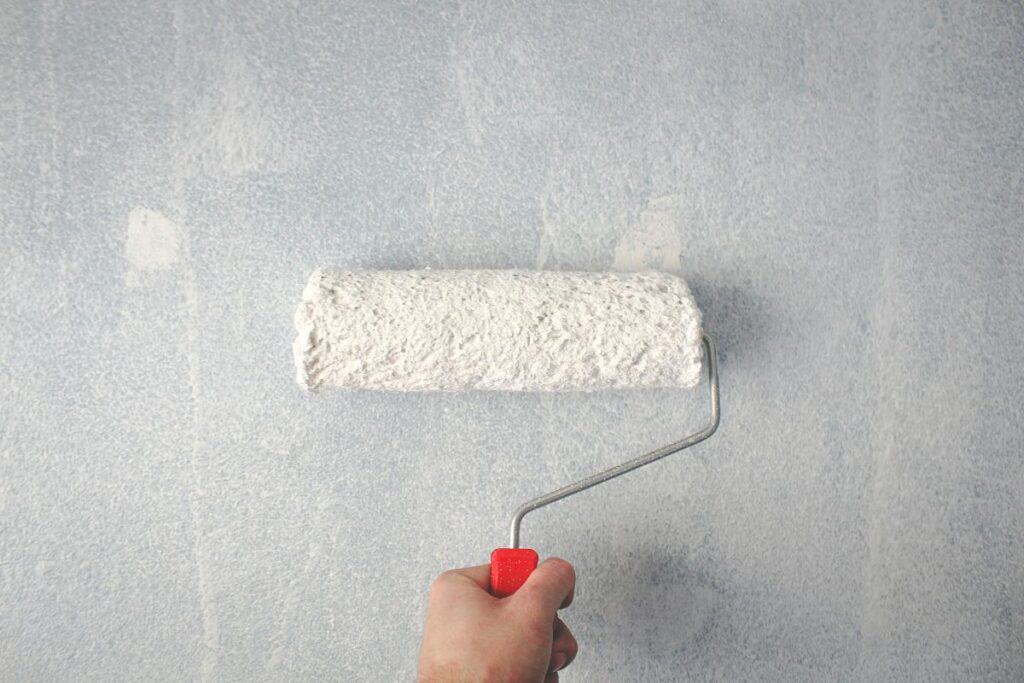
Priming your RV walls is the crucial bridge between preparation and painting.
Even with the best prep work, skipping or rushing the priming phase can doom your entire project. Think of primer as the foundation of your paint job, it creates the ideal surface for paint adhesion while blocking any stains or dark colors from bleeding through.
Primer Application Techniques
When applying primer to RV walls, technique matters more than speed. Start with corners and edges using a high-quality angled brush, then move to larger surfaces.
For the main wall areas, use a 1/4-inch nap roller designed for smooth surfaces. Roll in a W pattern, always working from dry areas into wet ones to maintain a consistent layer.
Key application tips:
- Roll slowly to avoid air bubbles
- Keep a wet edge while working
- Apply thin, even coats
- Work in 3 to 4 foot sections
- Start at the top and work down
How Many Primer Coats & How Long Between?
In some cases you might be able to get away with one primer coat, however, most RV walls require two coats of primer for the best results. With the first coat sealing the surface and the second coat providing complete coverage. Creating the perfect base for your paint.
Patience during the priming phase pays huge dividends. While it’s tempting to rush, proper drying time between primer coats is really important.
Generally, allow 4 to 6 hours between coats in optimal conditions (70°F, 50% humidity). However, temperature and humidity significantly impact drying time. To speed the process up you can place box fans inside the camper to circulate the air.
Common Priming Mistakes to Avoid
A frequent mistake in RV painting projects is rushing the priming phase. Your primer must be completely dry before applying the next coat or moving on to paint. You shouldn’t feel any tackiness when running your hand over the surface.
Other critical priming mistakes to avoid:
- Applying primer too thickly
- Skipping problem areas
- Not stirring primer thoroughly
- Using old primer
- Priming in direct sunlight
Remember: Take your time during this phase, a properly primed surface will make your paint job look better and last longer under the unique stresses of RV life.
Step 4: RV Wall Painting
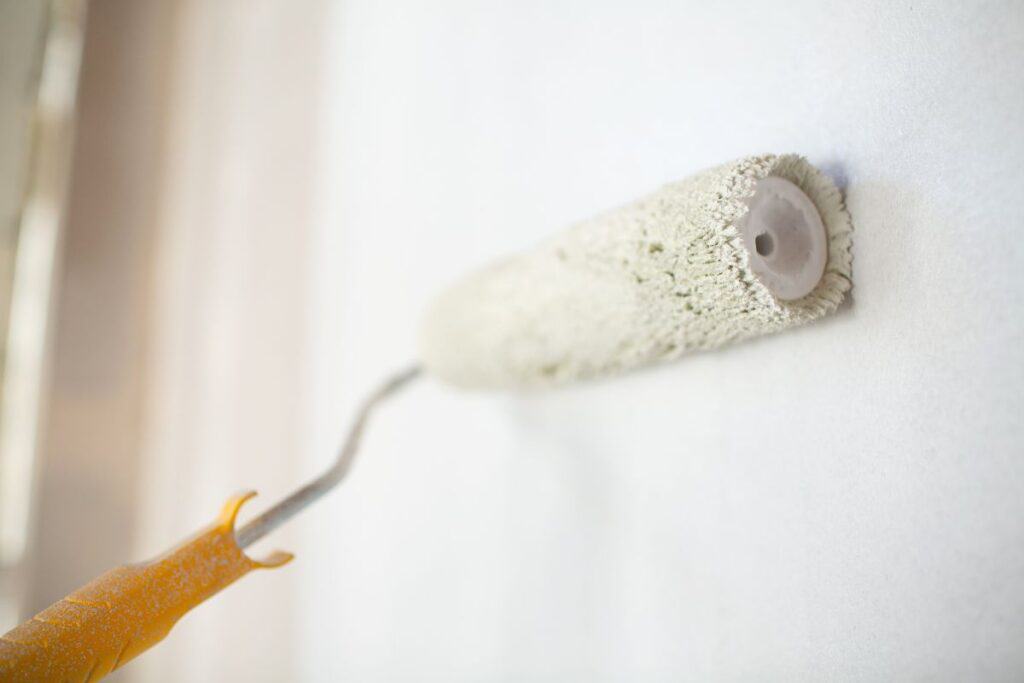
Successfully painting RV walls requires the right combination of technique, patience, and attention to detail.
After priming the walls, you’re ready for the most satisfying part of the process, finally applying the paint!
Best Application Methods (Roller vs. Spray)
Both roller and spray applications have their place in RV painting.
Using a paint sprayer delivers the smoothest finish and works fastest for large areas, but requires significant masking and more skill. Rolling, while more time-consuming, offers excellent control and minimal overspray and is much more DIY-friendly.
Pro tip: For most DIYers, I recommend using a roller with brushwork for edges and corners. However, if you’re comfortable with a paint sprayer, it can dramatically speed up the process.
Proper Painting Techniques
Regardless of your chosen paint method, proper technique is critical for a professional finish.
Start at the top of each wall and work your way down in manageable sections. Maintain a wet edge to prevent lap marks, and avoid overworking the paint.
Best practices to follow while painting:
- Use steady, even pressure
- Paint in 3 to 4-foot sections
- Keep a wet edge at all times
- Apply thin, even coats
- Don’t stretch the paint too far
How Many Coats of Paint?
Most RV wall paint jobs require 2 and possibly 3 coats of paint, depending on how dramatic the color change is for optimal coverage and durability.
Your first coat of paint acts as a base, while subsequent coats build depth and ensure even coverage and true color.
Remember: Wait until each coat is completely dry before applying the next. Rushing this process is a common mistake that leads to peeling and uneven finish.
Dealing with Corners & Edges
Corners and edges require special attention and are often where paint jobs show their quality. Use a high-quality angled brush for cutting in around windows, doors, and corners. Work methodically, and don’t try to stretch your paint too far.
Tips for perfect edges:
- Use a 1.5-inch angled brush for control
- Paint edges first, then roll adjacent areas while wet
- Keep brush strokes consistent
- Clean-up drips immediately
- Take extra care around window frames and door jambs
Drying & Curing Times
It’s important to understand the difference between drying and curing when painting RV walls. While paint might feel dry to the touch within hours, full curing takes much longer for maximum durability.
Typical Paint Drying timeline:
- Touch dry: 1-2 hours
- Recoat ready: 4-6 hours
- Light use: 24 hours
- Full cure: 7-14 days
During the curing period, be gentle with your newly painted surfaces. Avoid scrubbing or placing tape on the walls for at least two weeks. The longer you can let the paint cure before subjecting it to heavy use or travel, the more durable your finish will be.
16 Pro Tips on How to Paint RV Walls
- Always paint when temps are between 65 to 80°F (18 to 27°C) for best adhesion and curing.
- Keep humidity levels below 50% when painting your RV walls, for best adhesion and drying.
- Invest in premium brushes and rollers, as they make a huge difference in finish quality
- Always prime RV walls before painting.
- Caulk all gaps and seams for a professional look.
- Start at the ceiling and work your way down to avoid drips on finished surfaces
- If using more than one gallon, mix all paint to ensure color consistency.
- Paint all your edges/trim first, then roll the walls while the edges are still wet.
- Keep a wet edge by working in smaller sections.
- Sand between coats with fine-grit sandpaper for an ultra-smooth finish.
- Use bright work lights to spot imperfections as you go.
- Keep a damp rag handy to immediately wipe up any drips.
- Apply thin coats rather than one thick coat.
- Let each coat dry completely before applying the next
- If you have leftover paint, store it in a temperature-controlled space away from direct sunlight for future touch-ups.
- Take photos of paint cans/codes for future reference.
Frequently Asked Questions About How to Paint RV Walls
Other How-To RV Resources:
- How to RV Full-Time: Everything You Need to Know
- Are RV Parks Safe? How to Stay Safe in RV Parks
- 12 Things You Must Do to Prepare for Full-Time RV Living
Recent Posts
When cruising down the highway in your RV, the last thing you want is a tire blowout! Not only is it dangerous, but RV tire replacement isn't cheap, costing $200 to $300 per tire. The good news,...
Nothing ruins an RV adventure faster than a breakdown with no way to fix it. Because of this, every RVer should have a well-stocked RV tool kit for those unexpected roadside emergencies and campsite...
