
Hey there, fellow RV enthusiasts! Let’s talk about something we’ve all thought about at least once during our travels – giving that tiny RV bathroom a much-needed facelift.
If you’re anything like me, you’ve probably stood in your RV’s bathroom, toothbrush in hand, thinking, “There’s got to be a way to freshen up and make this space work better.”
Well, guess what? There is! And I’m here to walk you through it.
Whether you’re dealing with a cramped corner RV bathroom or a slightly roomier setup, an RV bathroom remodel can be a game-changer.
It’s not just about making things pretty (though that’s a nice bonus). It’s also about creating a functional space that starts and ends your day on the right note, no matter where you’re parked.
In this post, I’ll be highlighting 17 easy upgrades that can transform your RV bathroom from “meh” to amazing. From simple switches like updating your mirror to bigger projects like installing a new shower stall, there are RV bathroom remodel ideas for every skill level and budget.
RV Bathroom Remodel Ideas:
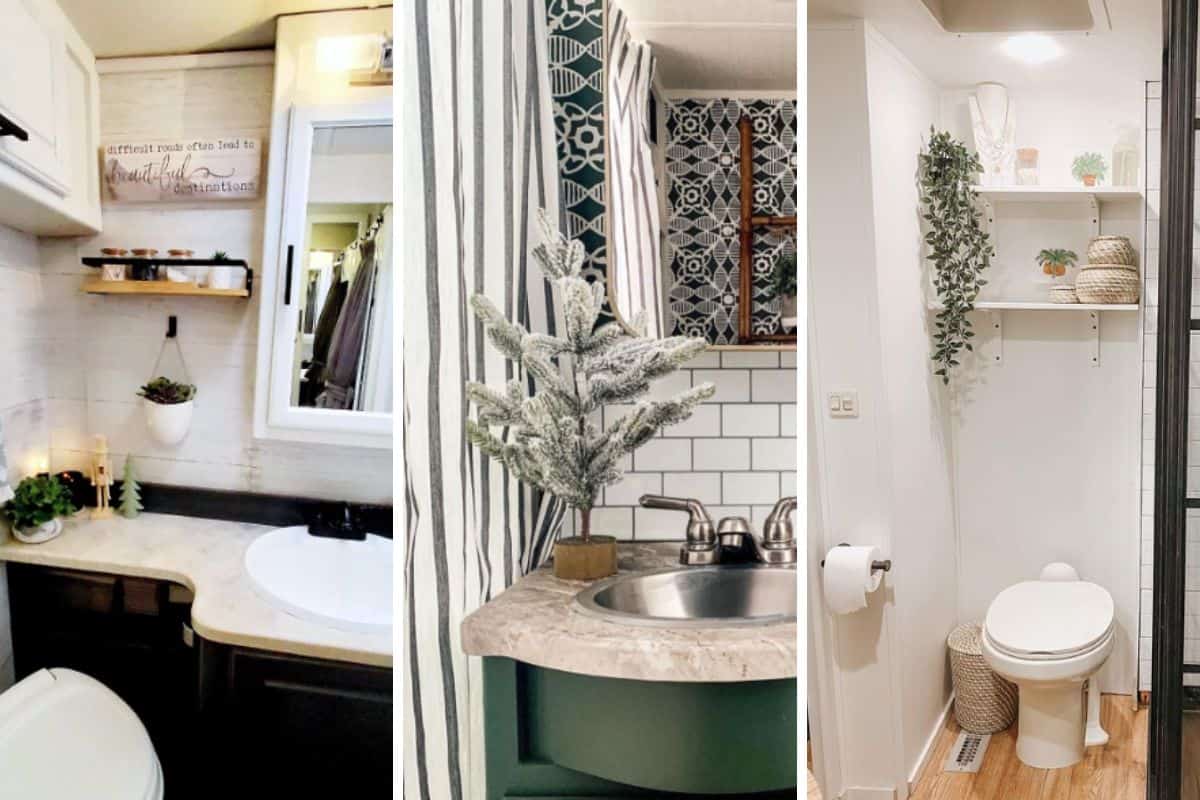
1. Cozy Green RV Bathroom Haven
The deep green wall paint in this RV bathroom remodel instantly transforms the space, giving it a fresh and sophisticated look.
This rich color adds depth and warmth, creating a cozy atmosphere that contrasts beautifully with the light fixtures and gold mirror. By choosing this bold deep shade, the remodel shows how a simple paint change can make a dramatic impact on any RV bathroom.
2. Coastal Bliss in a Small RV Bathroom
This stunning RV bathroom remodel features a serene coastal vibe with beautiful wave-patterned RV wallpaper.
There are many great features of this renovation but one of my favorites is the ceramic white vessel sink paired with a beachy oval mirror, set against a vertically installed white shiplap. Which gives the RV bath a fresh airy feel, making it both functional and stylish.
3. Modern Elegance with Bold Patterns
This RV bathroom renovation showcases a striking black-and-white chevron wallpaper that adds a modern touch to the space.
The combination of bold patterns and dark cabinetry transforms this bathroom into a chic and functional retreat.
4. Bright & Airy RV Bathroom Makeover
The fresh coat of white paint in this RV bathroom remodel completely revitalizes the space, making it feel larger and more inviting. This simple yet effective upgrade creates a clean, bright backdrop that enhances the natural light and highlights the room’s features.
By opting for white, this bathroom went from dated and drab to fresh and modern.
5. Chic & Stylish RV Bathroom
A lot is going on in this RV bathroom remodel but the addition of the white stick-on tile backsplash adds a touch of elegance and sophistication.
This easy-to-install upgrade not only protects the walls but also provides a clean, modern look that beautifully contrasts with the patterned wallpaper and green cabinetry. The backsplash instantly elevates the overall aesthetic, making the space feel both chic and cohesive.
6. Vintage Charm in an RV Bathroom
The vintage vibe in this RV bathroom remodel is beautifully captured by the butcher block countertop, vessel sink, and gold faucet.
These elements combine to create a nostalgic yet stylish look that complements the vibrant botanical wallpaper. The rustic charm of the butcher block adds warmth, while the vessel sink and gold faucet bring a touch of elegance, transforming this small space into a chic and functional retreat.
7. Functional Fun with an Oversized Towel Rack
This RV bathroom remodel introduces a playful yet practical element with an oversized towel rack. Perfect for organizing multiple towels, it adds a touch of whimsy and keeps the space tidy.
The rack’s design complements the light, airy aesthetic of the bathroom, making it a standout feature that enhances both functionality and style.
8. Bold Geometric Flair in an RV Bathroom
The bold geometric wallpaper in this RV bathroom remodel creates a striking visual impact, instantly elevating the space. The intricate pattern adds a modern and artistic touch, complementing the sleek, white vanity and vessel sink.
This daring design choice showcases how wallpaper can transform a small area into a stylish and dynamic environment, perfect for making a statement on the road.
9. Add an Updated Glass Shower Enclosure
This bathroom RV makeover features a stylish update with a sleek glass shower enclosure.
The black frame and clear glass create a modern, open feel that enhances the space’s overall look. This upgrade not only adds a touch of sophistication but also provides a practical and durable solution for the shower area, making the bathroom feel more spacious and inviting.
10. Modern Style with an Updated RV Mirror
The updated round mirror in this RV bathroom remodel adds a touch of modern style. Its sleek design and gold frame create a stylish focal point that complements the white shiplap walls and vessel sink.
This simple yet impactful upgrade enhances the bathroom’s aesthetic, making it feel more open and inviting while reflecting light to brighten the space.
11. Dramatic Flair with Floral Wallpaper
This RV bathroom renovation features a stunning pop of drama with its bold floral wallpaper.
The intricate design adds a touch of elegance and personality, transforming the vanity area from ordinary into a focal point. Paired with white cabinetry and a sleek vessel sink, the wallpaper creates a balanced yet eye-catching aesthetic, making the bathroom feel luxurious while still inviting.
12. Rustic Farmhouse RV Bathroom Charm
This RV bathroom reno gives off rustic farmhouse charm with its unique metal siding shower walls and stone pebble floor.
The combination of industrial and natural elements creates a distinctive and inviting shower area that stands out. This thoughtful upgrade brings texture and character to the space, making this RV bathroom a true one-of-a-kind.
13. Elegant Wainscoting Upgrade
The beautiful cream-white wainscoting in this RV bathroom adds a touch of elegance and sophistication.
This classic feature enhances the room’s aesthetics by providing a clean, polished look that contrasts beautifully with the upper plaid wallpaper. The wainscoting not only elevates the style but also adds durability and protection to the RV walls, creating a timeless and charming space.
14. Practical Style with a Simple Wood Shelf
This RV bathroom remodel adds both style and functionality with the installation of a simple wood shelf.
Perfect for storing toiletries and decorative items, the shelf enhances the room’s practicality while adding a rustic touch. This straightforward DIY upgrade maximizes space and brings a warm, natural element to the decor, making the bathroom feel organized and inviting.
15. Stylish Hexagon Tile Upgrade
The addition of hexagon tiles to this RV bathroom creates a modern and sophisticated look. Covering an accent wall with these tiles adds texture and visual interest, making the space feel more upscale.
Paired with the round mirror and brass fixtures, the hexagon tiles enhance the overall design, turning this RV bathroom into a chic inviting sanctuary.
16. Rustic Exposed Copper Piping with a Rainfall Shower Head
This RV bathroom remodel features a stunning rustic upgrade with exposed copper piping and a luxurious rainfall shower head.
The industrial-style piping adds character and charm, while the rainfall shower head provides a spa-like experience. This combination of rustic and modern elements creates a unique and inviting shower space that enhances the overall aesthetic of the bathroom.
17. Timeless Elegance with Vertical White Subway Tiles
The vertical white subway tiles in this RV bathroom reno create a timeless and elegant look.
Arranged in a modern vertical pattern, these tiles add height and sophistication to the space. Paired with the warm wooden countertop and gold fixtures, the tiles enhance the bathroom’s clean and contemporary aesthetic.
Planning Your RV Bathroom Remodel
I’m sure all the beautiful RV bathroom remodels from above have got your creative juices flowing, before you start swinging hammers and picking out fancy faucets though, you need to put a plan in place first.
Planning is key when it comes to any RV bathroom remodel, and trust me, a little forethought goes a long way in avoiding headaches down the road.
Below are the four main factors you need to keep in mind when planning an RV bathroom renovation.
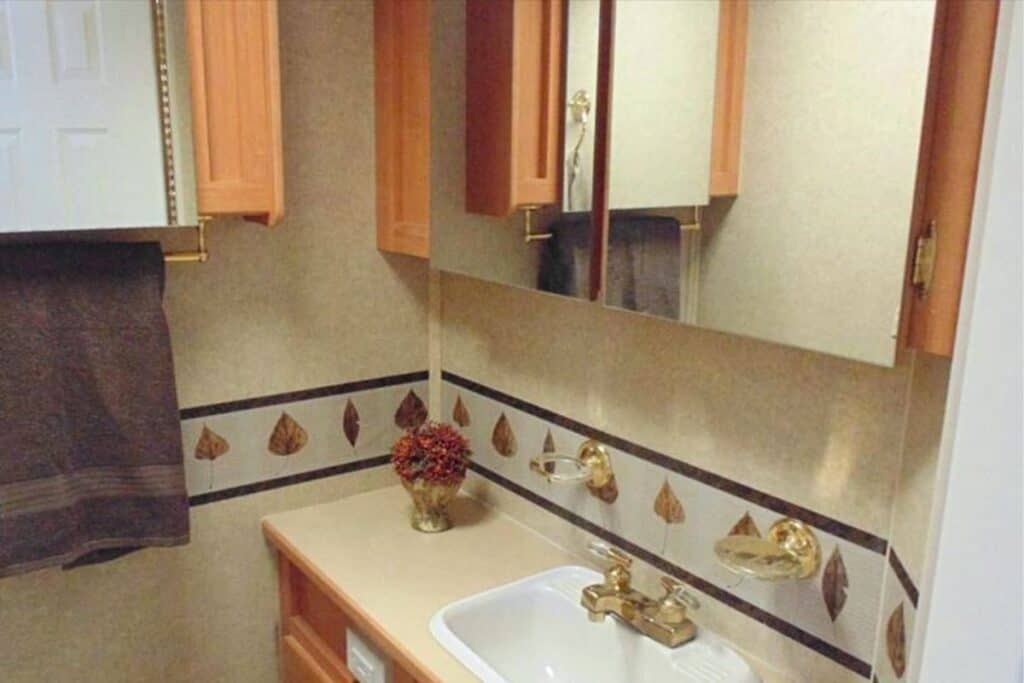
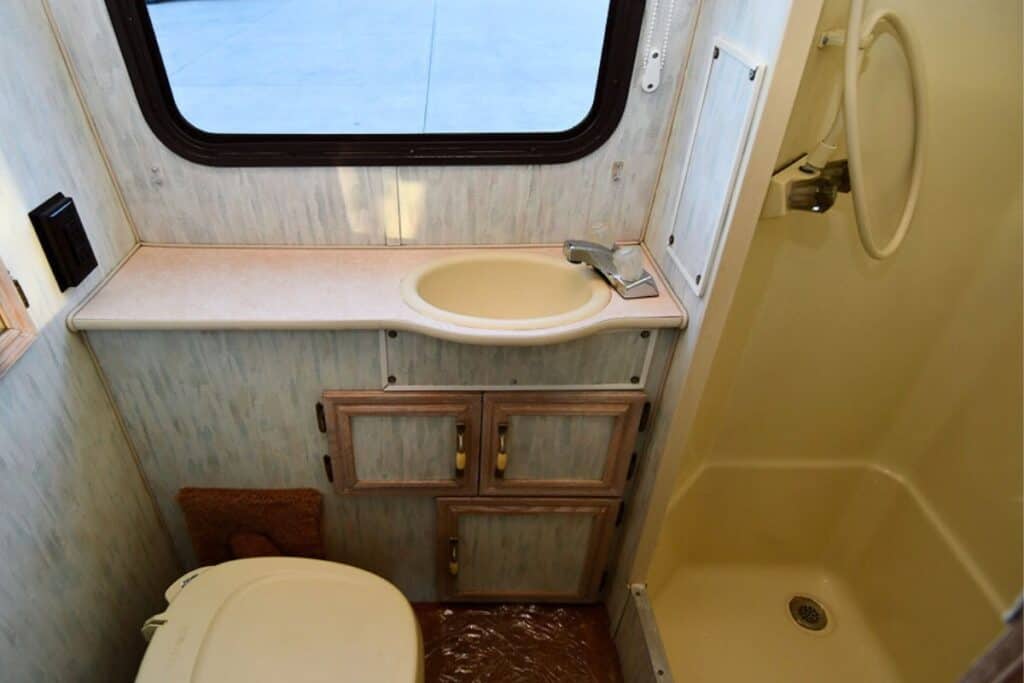
Assessing Your Current RV Bathroom
First things first, take a good, hard look at what you’re working with. Grab a notebook and jot down answers to these questions:
- What’s bugging me the most about the current bathroom setup?
- Which elements are working well and worth keeping?
- Are there any leaks, mold, or damage that need to be addressed?
- How’s the lighting?
- Is RV storage a major pain point?
This little audit will help you prioritize your upgrades and ensure you’re addressing the real issues, not just the surface-level stuff.
Setting a Budget for Your Bathroom RV Renovation
Now, let’s talk money. RV bathroom remodels can range from a few hundred bucks to a few thousand, depending on how wild you want to go. Set a realistic budget and don’t forget to include a buffer for those unexpected surprises (because, let’s face it, there’s always something).
Pro tip: If you’re working with a tight budget, prioritize functional upgrades over purely aesthetic ones. A new, efficient toilet might not be as exciting as trendy tiles, but your future self will thank you.
Choosing a Design Theme
Here’s where it gets fun! Are you dreaming of a farmhouse RV bathroom remodel with shiplap and rustic touches? Or maybe a boho RV bathroom makeover with lots of plants and woven textures is more your style? Whatever you choose, make sure it meshes well with the rest of your RV’s aesthetic.
Remember, themes can be subtle. Even small touches like coordinated hardware or a consistent color scheme can tie the look together without going overboard.
Measuring Your Space Accurately
I can’t stress this enough: measure, measure, measure! RV bathrooms are typically tight spaces and every inch counts.
Get precise measurements of your bathroom’s dimensions, including:
- Floor space
- Wall height
- Window and door sizes
- Existing fixture locations
Write these down and keep them handy. You’ll need them when shopping for new fixtures or planning layout changes. And always double-check measurements before making any purchases – nothing’s worse than realizing your dream vanity is 2 inches too wide!
Remember, planning might not be the most exciting part of an RV bathroom remodel, but it’s crucial for a smooth renovation process.
Take your time here, and you’ll set yourself up for success in creating the RV bathroom of your dreams.
Tips for a Successful RV Bathroom Renovation
- Think vertical: Use wall-mounted storage solutions to free up floor space.
- Multi-functional is your friend: Look for items that serve double duty, like a mirror cabinet combo.
- Opt for a corner sink: A corner sink RV bathroom remodel can free up precious inches.
- Consider a sliding door: It doesn’t eat into your bathroom or hallway space when open.
- Go lightweight: Use PVC wall panels or stick-on tiles instead of ceramic tiles for a sleek look without the weight.
- Choose smart flooring: Opt for vinyl or linoleum flooring rather than heavy porcelain tiles to keep your RV nimble.
- Shower smart: Install plastic or fiberglass shower surrounds instead of heavy stone for a lightweight, waterproof solution.
- Door dilemma: Pick hollow-core doors in place of solid wood to reduce overall weight without sacrificing style.
- Flex your plumbing skills: Use flexible, RV-grade plumbing pipes and fittings for durability and ease of installation.
- Seal the deal: Properly seal all connections and gaps to prevent leaks and protect your RV from water damage.
- Go with the flow: Ensure adequate slope in drainage pipes for efficient water removal and odor prevention.
- Trap those odors: Install a P-trap in the sink drain to prevent unpleasant smells from creeping back into your bathroom.
- Center of attention: Try to keep heavier items (like the toilet) close to the center line of the RV for better balance.
- Spread the weight: Avoid clustering all your weighty fixtures on one side to maintain proper RV weight distribution.
- Seek expert advice: Consider consulting with an RV specialist if you’re making significant changes.
Additional RV Remodel Resources:
- 23 Inspiring Farmhouse RV Decors to Transform Your Camper
- 17 Inspiring Pop-Up Camper Remodel Ideas You’ll Love!
- 15 Farmhouse RV Decorating Ideas for a Cozy Retreat
Recent Posts
When cruising down the highway in your RV, the last thing you want is a tire blowout! Not only is it dangerous, but RV tire replacement isn't cheap, costing $200 to $300 per tire. The good news,...
Nothing ruins an RV adventure faster than a breakdown with no way to fix it. Because of this, every RVer should have a well-stocked RV tool kit for those unexpected roadside emergencies and campsite...