
Many RV accessories today are either gimmicky or completely unnecessary, however, there are a handful of must-have RV accessories that every RVer should own.
And one of these must-have RV accessories is RV leveling blocks, as they are indispensable when it comes to setting up a proper foundation for your RV while camping.
However, while RV leveling blocks might seem somewhat self-explanatory, there is often a lot of confusion around them.
So to help clear up any confusion around RV leveling blocks, we created this helpful guide, which answers 10 of the most common questions about RV leveling blocks and their use.
Are RV Leveling Blocks Necessary?
One of the most common questions about RV leveling blocks is if they’re necessary in the first place?
As many RV beginners fail to grasp the importance of having a level RV.
So we thought we’d highlight some of the main reasons why you should level your RV and use RV leveling blocks.
Why You Need to Level Your RV and Use RV Leveling Blocks
- Minimizes Stress on RV Frame and Structure – To minimize stress on the frame and structure of the RV, you should always level the RV before using it.
- Improves RV Functionality – Because RVs are intended and designed to be used while level, RV components, such as door frames, drawers, cabinets, and plumbing systems will function far better when level.
- Improves RV Fridge Performance and Safety – Most RVs have electric/propane fridges that need to be level to function properly. In fact, using an electric/propane fridge unlevel can potentially lead to safety issues and even fire.
- Provides More Accurate Tank Level Readings – If the RV is not completely level, the RV tank sensors will not read correctly.
- Reduces Stress on Slide-Outs and Improves Long Term Reliability – RV slide-outs are designed to be operated while they’re level, as unlevel operation creates additional wear and tear on the mechanisms, potentially leading to premature failure.
- Improves Comfort – While using an RV unlevel is hard on the RV, it’s also hard on people, as it’s very uncomfortable to walk around and hang out inside an unlevel RV.
What Do You Use to Level a Camper?
What you need to level a camper depends largely on what type of RV you have and whether or not that RV has an automatic leveling system or leveling jacks.
Beginner Tip – Stabilizing jacks and leveling jacks are not the same thing, as most travel trailers are equipped with stabilizing jacks, which are intended to stabilize the RV only and not meant to lift or level the RV.
| Item | Description | Price | |
 |
Leveling Blocks | Designed to be stacked on top of each other and parked on, to manually level an RV. | Check Amazon Price |
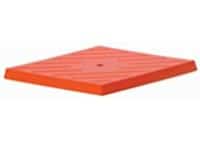 |
Leveling Block Cap | Designed to be placed on top of leveling blocks to provide a smooth level surface for tires or jack pads. | Check Amazon Price |
 |
Leveler System | Designed to be a cross between leveling blocks and wheel chocks, levelers allow for RV height adjustment without stacking blocks. | Check Amazon Price |
 |
Wheel Chock | Wedge of sturdy material typically made from rubber or plastic designed to be placed under a wheel to immobilize the vehicle. | Check Amazon Price |
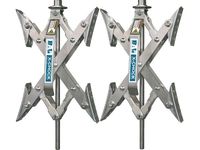 |
X-Shaped Wheel Chocks | Designed for use on tandem RV axles, X-shaped wheel chocks, chock, and stabilize the RV by applying opposing pressure to the tires. | Check Amazon Price |
 |
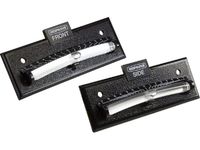
Stabilizing Jack Pads | Designed to be placed under leveling jacks or stabilizing jacks to help disperse the load and keep the jacks from sinking into the ground. | Check Amazon Price |
 |
Bubble Level | Used to find and mark level by utilizing a floating bubble indicator. | Check Amazon Price |
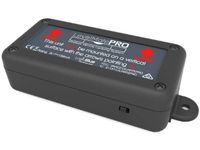 |
Wireless Leveling System | Links to your smartphone, to give you a real-time level indicator. | Check Amazon Price |
How Do You Level a Camper with Leveling Blocks?
While there are several different ways to level an RV, one of the most common is to use leveling blocks, which we’ve outlined below.
Step 1: Determine How Level the Camper Is
Before you can level the camper, you first need to find out how unlevel the RV is by using either a bubble level or wireless leveling system like this popular one from LevelMatePRO on Amazon, to determine which part of the RV needs to be raised to level the RV.
Step 2: Use RV Leveling Blocks On the Low Side of The Camper
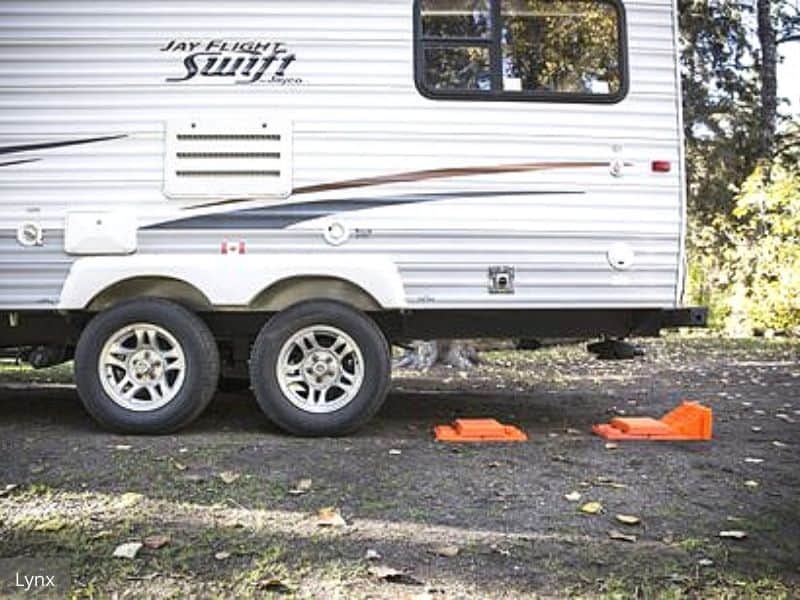
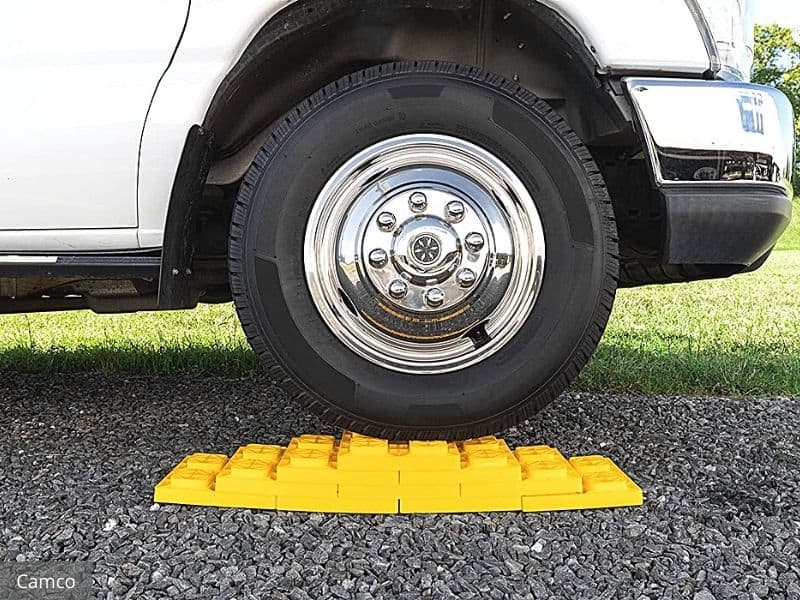
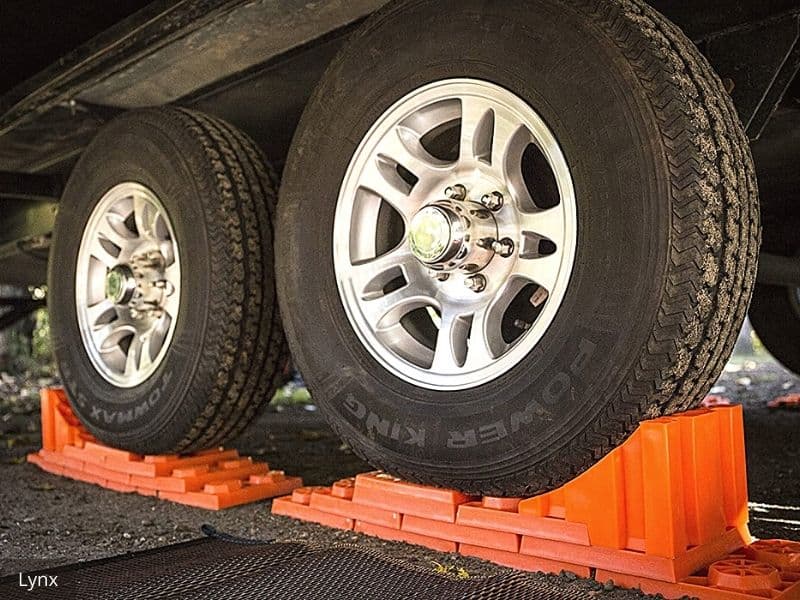
Once you’ve determined the low side of the camper and estimated how much lift you need to add to level the RV, you want to stack RV leveling blocks in a pyramid design either in front of or behind the wheels on the low side.
Step 3: Drive Onto the Leveling Blocks to Level
Now that you have the RV leveling blocks stacked next to the wheels on the low side of the camper, all you need to do is slowly drive onto the leveling blocks to level out the RV from side to side.
Step 4: Check for Level and Adjust Accordingly
Once you’ve driven onto the RV leveling blocks, you want to check for level again, to ensure that the RV is completely level from side to side.
If the RV is not level after checking, adjust accordingly until the RV is level.
Step 5: Chock the Wheels
Now that the camper is level from side to side, you need to chock the wheels before unhitching, to ensure that the RV doesn’t move, by either using standard wheel chocks or x-shaped wheel chocks for tandem axles.
Step 6: Level the Camper Front to Back
The final step to level the camper is to level the trailer from front to back, which you can accomplish by either raising or lowering the trailer hitch up or down as needed.
How High Can You Stack RV Leveling Blocks?
RV leveling blocks are very stable, thanks to their modular interlinking construction, especially when they’re stacked in a pyramid design.
However, it’s generally recommended to not stack RV leveling blocks any higher than four to five inches tall, depending on their construction and brand.
Which would be four to five leveling blocks, as each RV leveling block provides 1 inch of lift.
How Much Weight Can Leveling Blocks Hold?
RV leveling blocks are designed and constructed to support a lot of weight, as some of the largest RVs can weigh as much as 30,000 pounds or 15 tons.
Because of this, most RV leveling blocks can support between 30,000 and 40,000 pounds, depending on their construction and brand.
How Many Leveling Blocks Do You Need for a Travel Trailer?
How many leveling blocks you need to level a travel trailer depends on several different factors, including how level the campsite is and whether you have a single or tandem axle trailer.
However, in general, two stacks of 10 or a total of 20 leveling blocks should allow you to level a single or tandem axle travel trailer on even the most unlevel campsite.
As this amount of leveling blocks will provide you with enough to place under the tires of the camper as well as under the stabilizing jacks, which is important.
Because once you start raising a portion of the trailer, you’ll need to stack leveling blocks under the corresponding stabilizer jacks, so that they can reach the ground and prevent them from being overextended.
Do You Need Leveling Blocks if You Have Leveling Jacks?
If you have an electric or hydraulic leveling system and leveling jacks on your RV, you don’t need leveling blocks.
However, you might want to consider investing in either a set of stabilizing jack pads or RV snap pads to provide a more stable and solid footing for your leveling jacks.
What are the Best RV Leveling Blocks?
While there are dozens of different RV leveling blocks on the market today from a wide variety of manufacturers, the below three options are by far the best and most popular choices.
1. Tri-Lynx Lynx Levelers
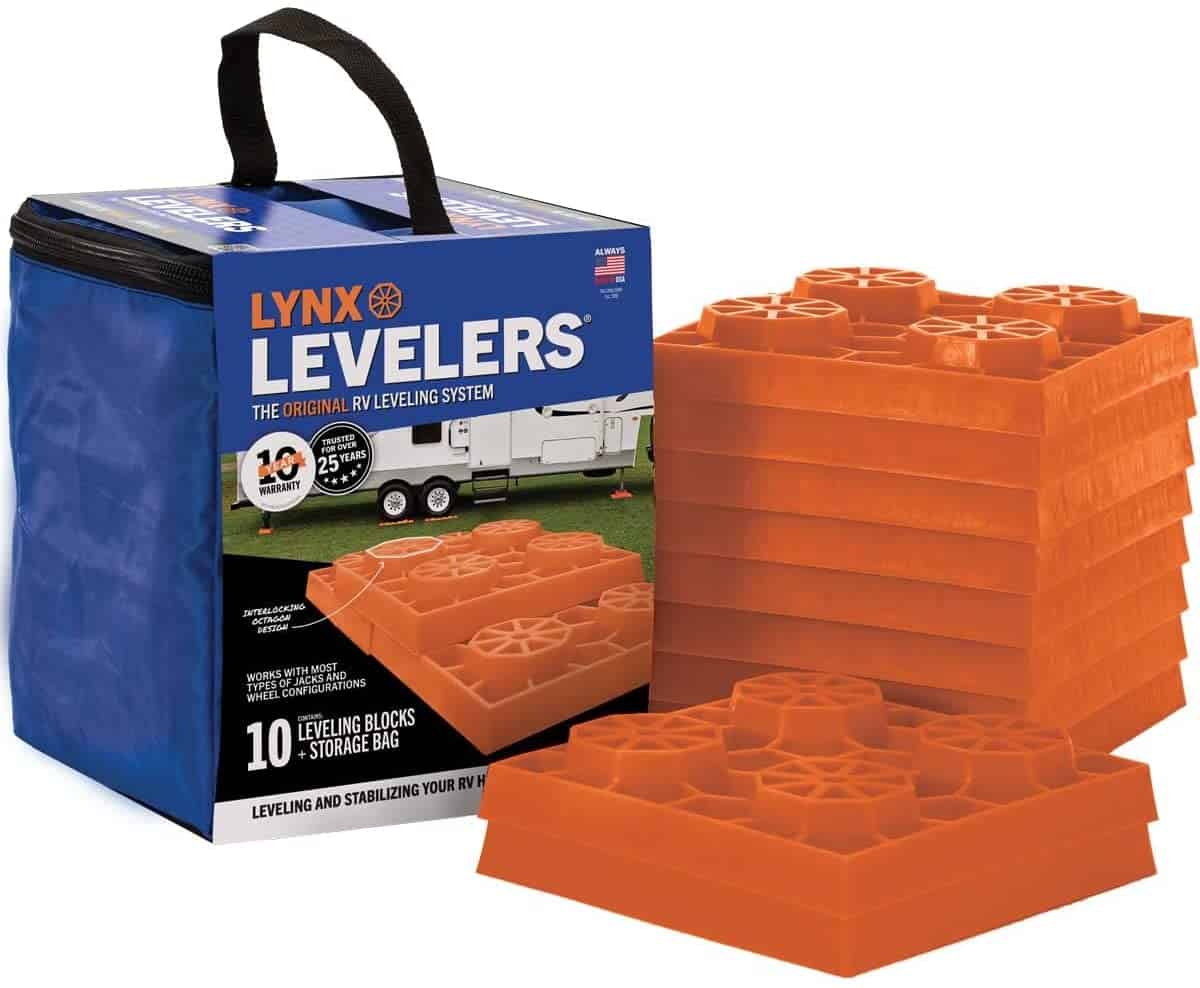
Quick Specs
- Quantity – 10 Pack
- Type: Modular Interlocking Blocks
- Dimensions: 8.5 x 8.5 x 1.5 Inches
- Lift: 1 Inch Per
- Max Recommend Height: 5 Inches
- Max Load: 40,000 Pounds
- Warranty: 10 Year
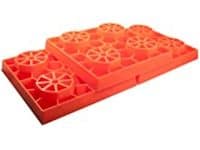
2. Camco Heavy Duty Leveling Blocks
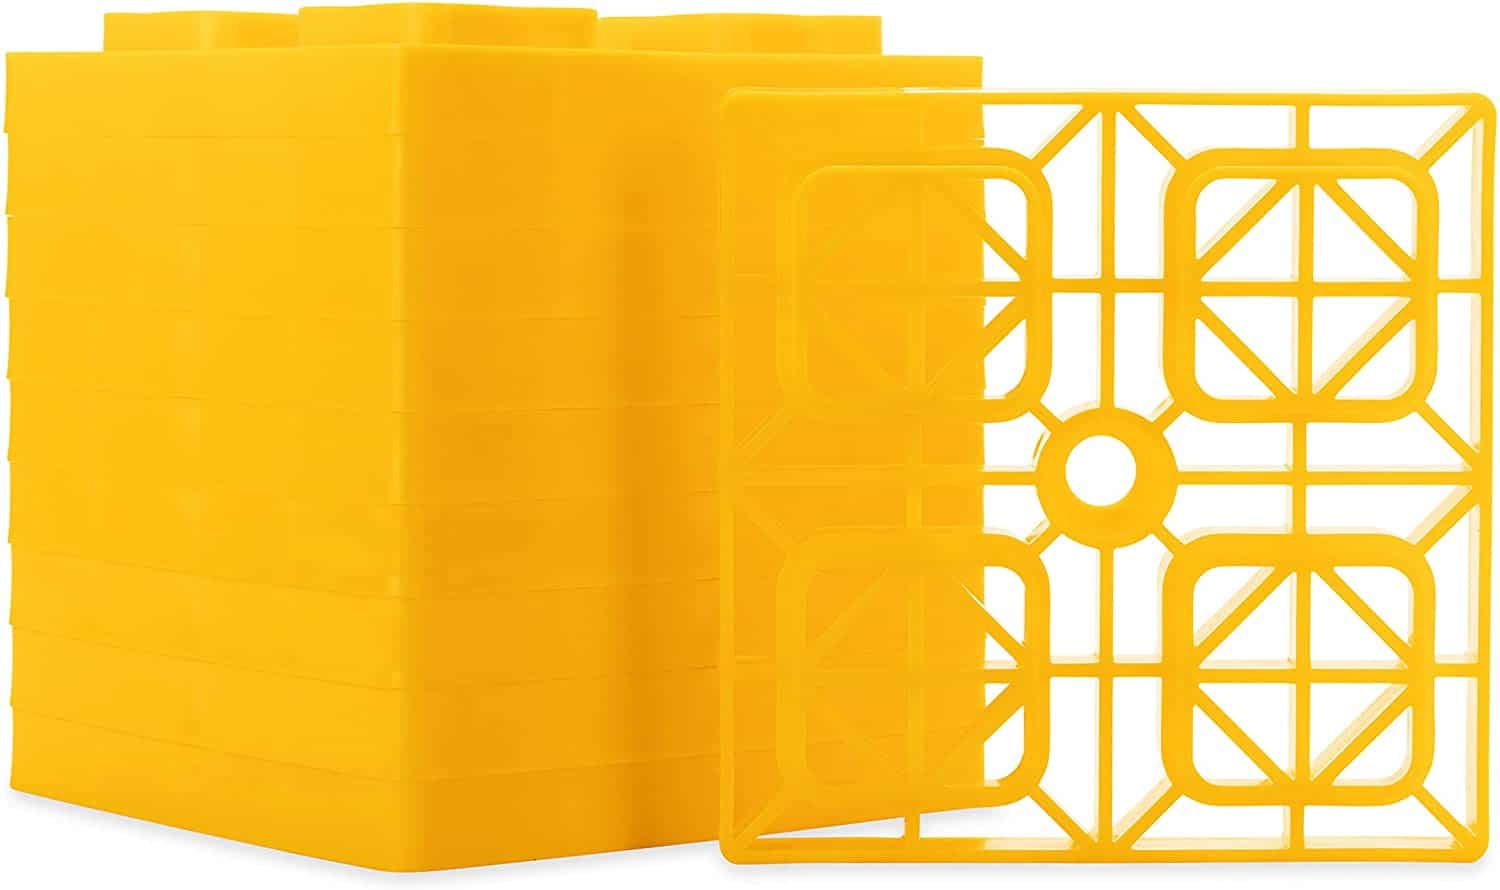
Quick Specs
- Quantity – 10 Pack
- Type: Modular Interlocking Blocks
- Dimensions: 8.5 x 8.5 x 1 Inch
- Lift: 1 Inch Per
- Max Recommended Height: 4 Inches
- Max Load: Unspecified
- Warranty: 1 Year
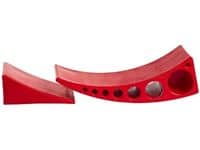
3. Anderson Hitches Camper Leveler System
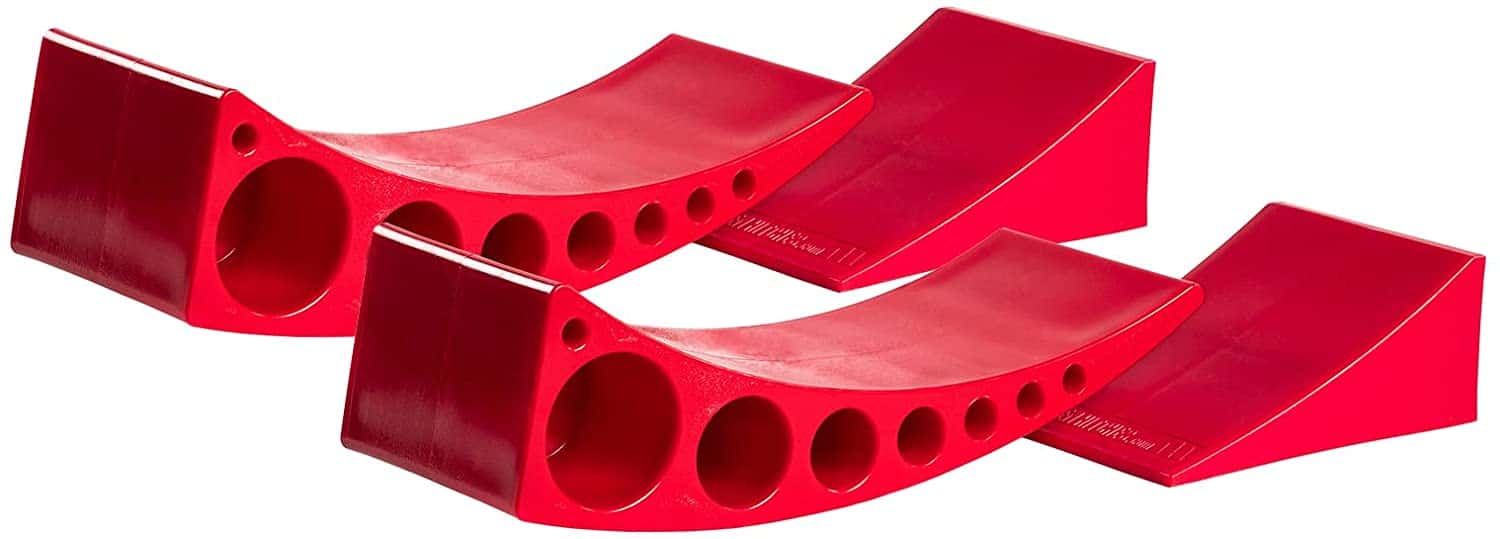
Quick Specs
- Quantity – 2 Pack
- Type: Adjustable Leveler (Wheel Chock Included)
- Dimensions: Approximately 15 x 6 x 5 Inches
- Lift: 1/2 to 4 Inches
- Max Load: 30,000 Pounds
- Warranty: Lifetime
What are the Best RV Leveling Blocks for Dual Wheels?
While you might think that you need a different type of RV leveling block if you have an RV with dual wheels or a tandem axle, this is not the case.
As dual wheel or tandem axle RVs use the same type of RV leveling blocks as single wheel or single axle RVs.
This means that the best RV leveling blocks are also the best RV leveling blocks for dual wheels or tandem axles.
How Do You Make Do It Yourself RV Leveling Blocks?
While there are advantages to using RV leveling blocks from companies like Tri-Lynx or Camco, many RVers choose to make their own leveling blocks, as this tends to be cheaper, especially if you need to do a lot of leveling.
As RV leveling blocks from Tri-Lynx or Camco usually cost between $30 and $40 for a pack of 10, while homemade RV leveling blocks made from wood usually cost $20 or less and might even be free if you have some scrap wood laying around.
So if you want to save some money on RV leveling blocks or just like DIY projects, we’ve outlined how to make your own do-it-yourself RV leveling blocks below.
Step 1: Select Appropriate Size Wood
When choosing wood for RV leveling blocks, you want to use dimensional lumber that is wide enough to accommodate the whole tire, which for travel trailers will usually be a 2×8, and for motorhomes will usually be a 2×10.
As motorhome tires are typically slightly wider compared to travel trailer tires.
It’s always a good idea though to measure your particular tires to ensure you choose the right size wood.
Also, when selecting lumber, don’t forget that you want to look at the actual measurements of the dimensional lumber and not the nominal size, as the actual measurements will always be smaller.
Step 2: Decide Between Treated or Untreated Wood
Once you’ve chosen the right size wood for your particular RV tires, you need to decide between either treated or untreated wood, which each has its own pros and cons.
Treated Lumber
- More Expensive
- More Resistant to Moisture and Insects
- Longer Life Span
- Heavier
Untreated Lumber
- Less Expensive
- Less Resistant to Moisture and Insects
- Shorter Life Span
- Lighter
Step 3: Decide On How Many Leveling Blocks You Will Need
How many leveling blocks you need will depend on the type of RV you have and how level or unlevel a particular campsite is.
Ideally, though you should have at least two leveling blocks for each wheel or set of wheels.
Step 4: Measure How Long the Boards Need to Be
How long the boards need to be for RV leveling blocks, will depend on whether your RV has a single or double axle, how high you need to stack the leveling blocks, and how much cushion you want on either side of the tire.
But as a general rule, single axle RVs should have RV leveling blocks with a base length of at least 32 inches, while dual wheel or tandem axle RVs should have RV leveling blocks with a base length of at least 64 inches.
Again though it’s best to measure your own RV tires, to ensure your boards are long enough not only for the span of the tire or tires but also to accommodate for the extra length needed to stack several leveling blocks on top of each other.
Step 5: Cut to Length and Add a 45-Degree Angle at the End of Each Board
Now that you know how many boards you need and how long they need to be, all you need to do now is cut them to length.
Don’t forget to add a 45-degree angle to the end of each board, as this will help to reduce stress on the tire as well as on the board, as you drive your RV onto your DIY leveling blocks.
Step 6: Don’t Forget About Wheel Chocks
Now that you’ve created your DIY leveling blocks, don’t forget that you also need to create DIY wheel chocks as well, to keep the RV from moving once you’ve leveled it.
Which can easily be made by taking a small section of 4×4 post and cutting a 45-degree angle on one end.
To see other must-have RV accessories, check out our article “20 Must-Have RV Accessories Under $20“.
Recent Posts
When cruising down the highway in your RV, the last thing you want is a tire blowout! Not only is it dangerous, but RV tire replacement isn't cheap, costing $200 to $300 per tire. The good news,...
Nothing ruins an RV adventure faster than a breakdown with no way to fix it. Because of this, every RVer should have a well-stocked RV tool kit for those unexpected roadside emergencies and campsite...