
Here’s the thing, while most of us are pretty good about checking tire pressure, some RV maintenance tasks often get overlooked.
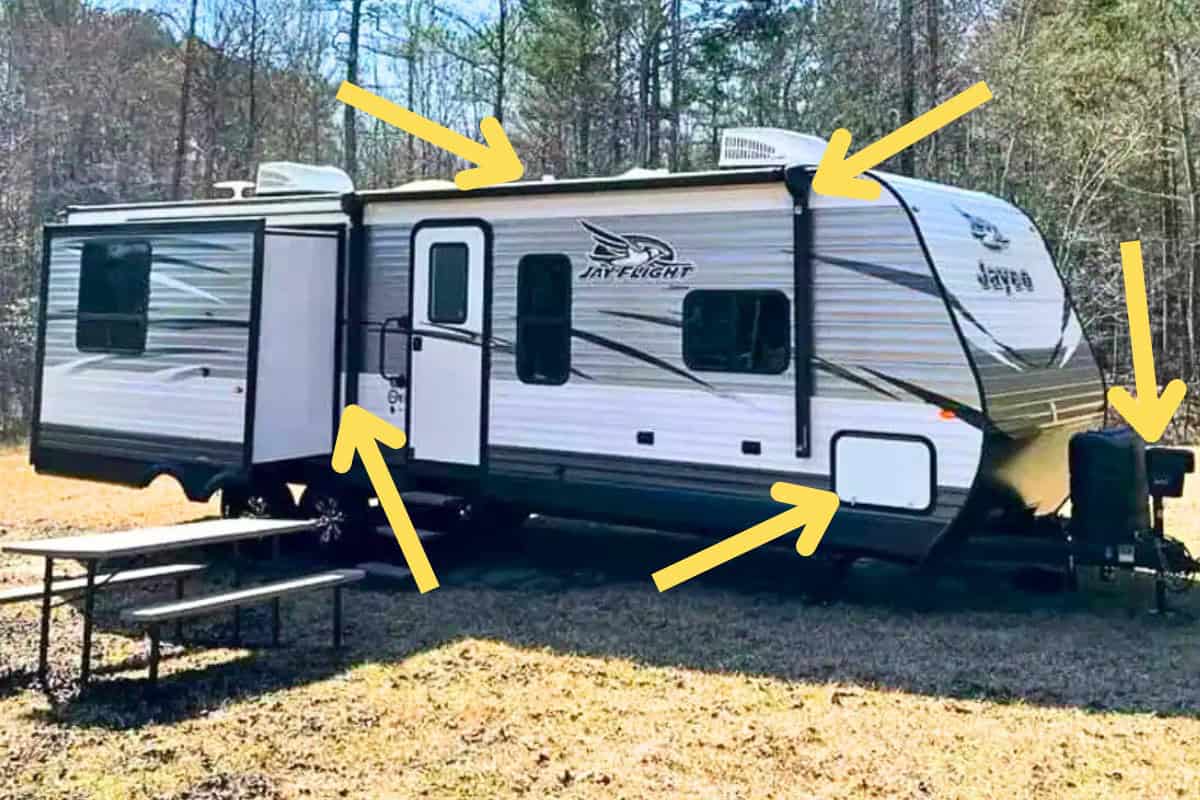
Because of this, I wanted to share some of the most commonly overlooked RV maintenance items that most campers aren’t doing but should be, to hopefully save you some headaches and potentially costly repairs down the road.
1. Inspect & Reseal Roof Seams & Sealants
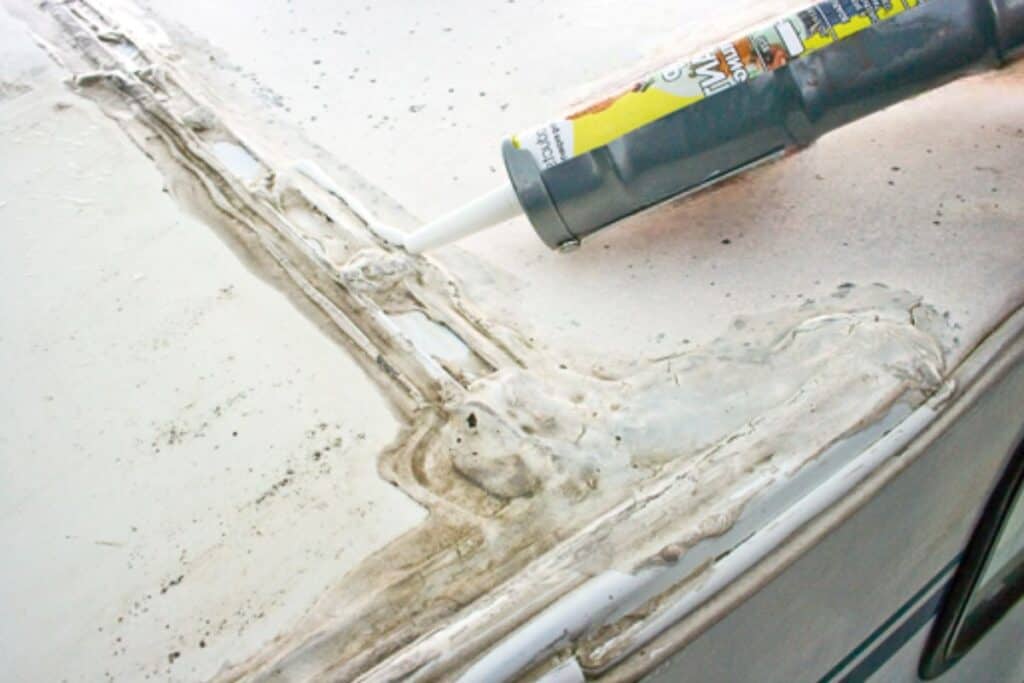
Water damage is the number one enemy of any RV, and it often starts with tiny cracks in your roof sealants that go unnoticed until it’s too late. The unfortunate thing though is that many RVers don’t make regular roof inspections part of their maintenance routine.
Remember that your RV roof is constantly exposed to harsh elements like UV rays, extreme temperature fluctuations, rain, and debris. Over time, these factors cause sealants around vents, antennas, and air conditioners to deteriorate.
What you should be doing: At a minimum, inspect your roof caulk and sealants every six months, and annually perform a complete roof inspection and reseal when needed. Look for cracks, peeling, or discoloration in the sealant. Pay special attention to areas around roof fixtures.
Also, don’t forget that the type of sealant you use matters. Different RV materials require different sealants (lap sealant for rubber roofs, silicone for certain fixtures, etc.). When in doubt, consult your RV’s manual or your local RV shop.
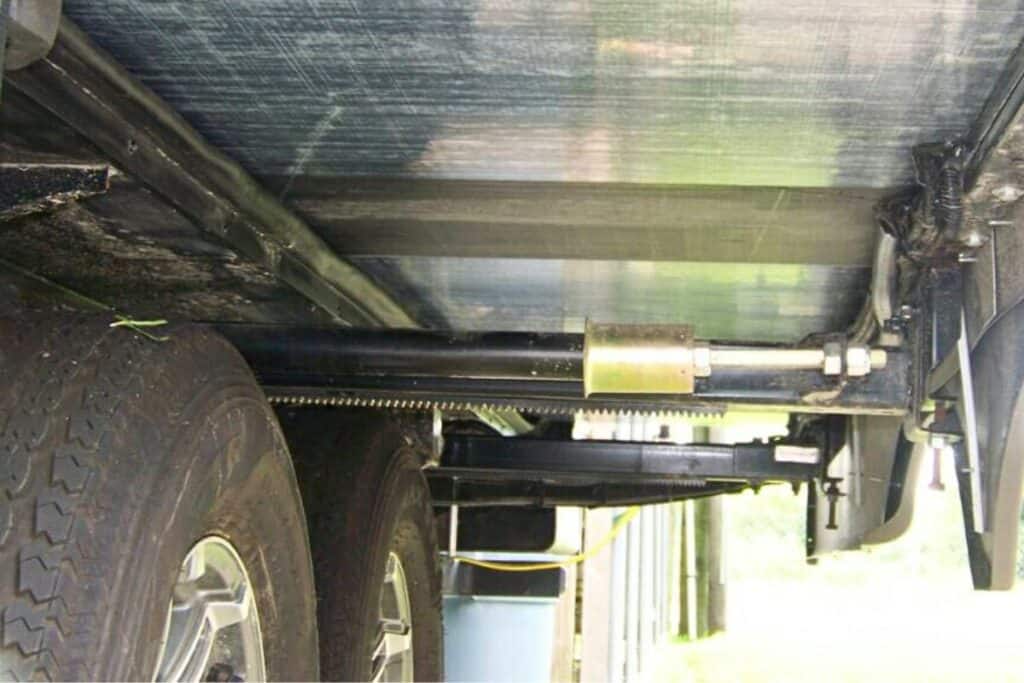
2. Lubricate Moving Parts & RV Slide-Out Mechanisms
Your RV has dozens of moving parts that need regular lubrication, yet this maintenance task often gets overlooked until something starts squeaking, or worse, seizes up.
RV Slide-outs, entry steps, leveling jacks, and awning mechanisms all have parts that need regular lubrication to function properly. Without it, you’ll experience premature wear, binding, and potentially costly mechanical failures.
What you should be doing: Create an RV lubrication schedule based on how frequently you use your camper. For most RVers, lubricating all moving parts every 4 to 6 months is sufficient, though more frequent attention might be needed if you travel full-time or often camp in dusty/salty environments.
Different components need different lubricants. For example:
- Slide-out mechanisms typically need a dry lubricant that won’t attract dust
- Door hinges and locks work best with a light oil or silicone spray
- Window tracks need a clean lubricant that won’t drip or stain
Pro Tip: When performing your various RV maintenance lubrication tasks more isn’t always better. Excess lubricant can actually attract dirt and cause problems.
3. Inspect & Condition RV Seals & Gaskets
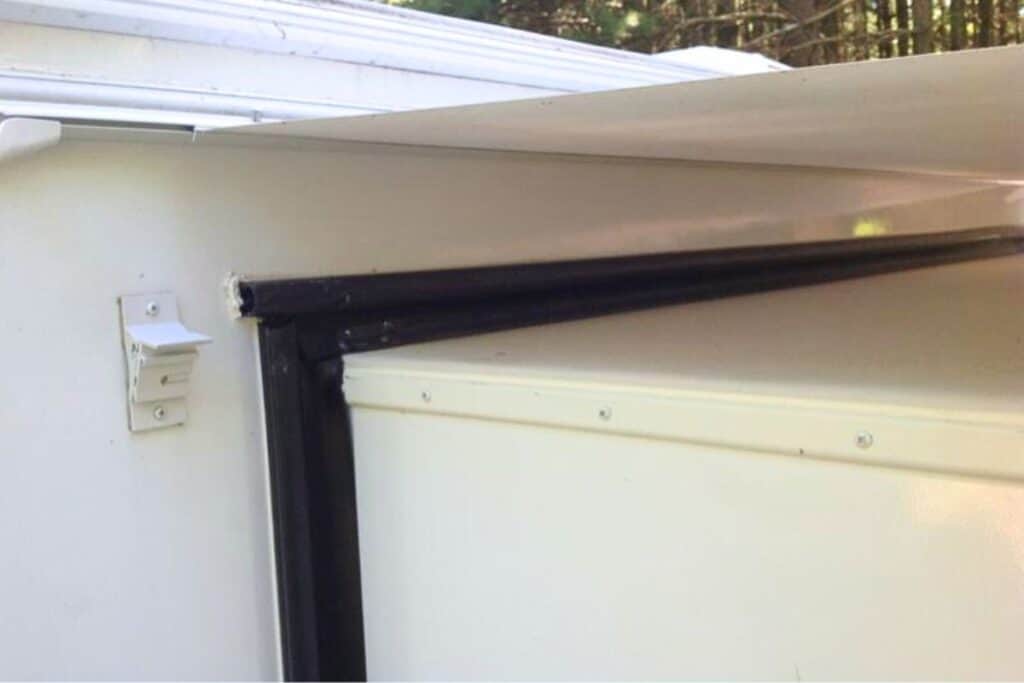
Those rubber seals around your doors, windows, slides, and refrigerator do more than keep out drafts, they’re critical barriers against water intrusion and help maintain proper climate control.
Yet seal maintenance is one of the most commonly overlooked RV tasks. Rubber deteriorates over time, especially when exposed to UV rays and extreme temperatures. Dry, cracked seals lose effectiveness and lead to water damage, increased energy consumption, and even pest intrusion.
What you should be doing: Inspect all seals quarterly, looking for cracks, brittleness, or compression. Clean them with appropriate cleaners and apply a rubber conditioner designed specifically for RV seals.
Pay special attention to slide-out seals, as they face the most compression and movement.
Pro tip: Never use petroleum-based products on rubber seals, as they can speed up deterioration. Invest in products specifically designed for RV rubber conditioning, like this 3-IN-ONE RVcare Rubber Seal Conditioner on Amazon.
Applying a good seal conditioner twice a year can extend the life of your seals by years and help prevent water intrusion.
4. Inspect & Maintain Awning
RV awnings provide essential shade and outdoor living space, but their components are frequently neglected until they fail.
Constant exposure to elements causes fabric deterioration, spring tension issues, and mechanism corrosion.
What you should be doing: Twice per season, fully extend your awning and inspect all components and material for tears or mildew issues. Then clean the awing with an RV awning cleaner like this one on Amazon.
It’s also a good idea to lubricate moving parts with dry silicone spray, not grease which attracts dirt.
When stowing for extended periods, ensure the awning is completely dry to prevent mildew growth and material deterioration.
5. Sanitize the Fresh Water System
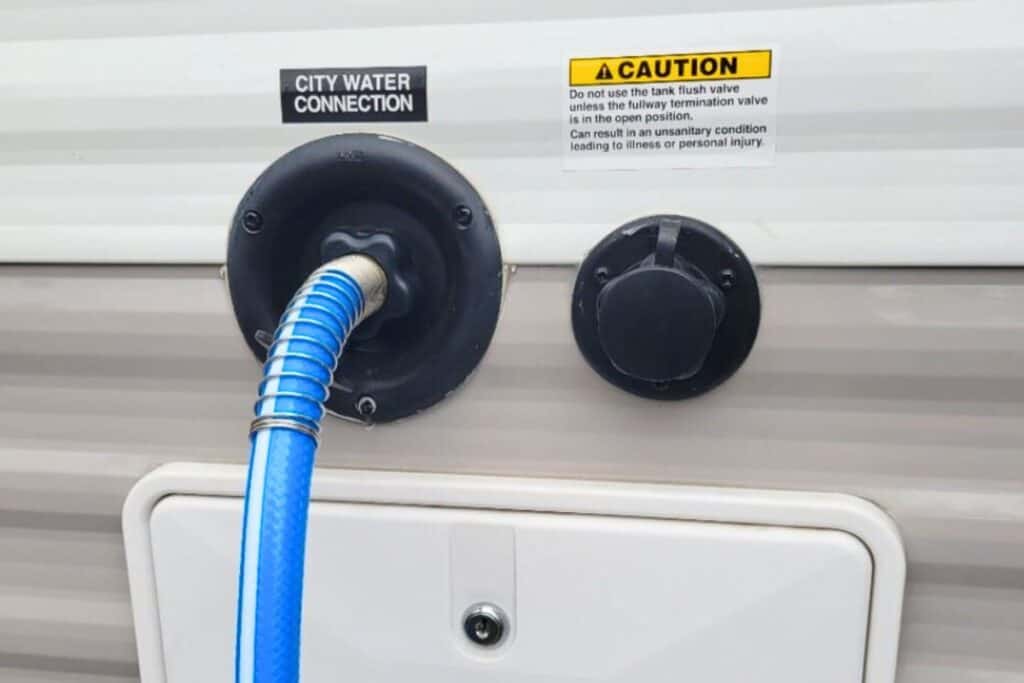
We all know to winterize our water systems and occasionally flush the tanks, but when was the last time you properly sanitized your entire freshwater system?
Many RVers go years or have never done this important RV maintenance task.
Over time, bacteria, algae, and biofilm build up in your tanks and plumbing lines. This can affect water taste and odor and potentially cause health issues.
What you should be doing: Completely sanitize your freshwater system at least twice a year, at the beginning of camping season and midway through. If you’re a full-timer, aim for quarterly sanitization.
How To Sanitize an RV Water System: The proper sanitization process involves more than just adding a bit of bleach to your tank. You need to:
- Drain all water from the system.
- Mix the correct bleach-to-water ratio (typically 1/4 cup of bleach per every 16 gallons of water/tank capacity).
- Fill the tank with the water bleach mixture and run water through all fixtures until you smell bleach
- Let it sit for at least 12 hours (24 is better).
- Drain and rinse thoroughly until the bleach smell is gone.
Warning: Never pour undiluted bleach directly into your RV fresh water tank. It should always be diluted first. Undiluted bleach can damage an RV’s plumbing system.
Also, if you’re not already using one you should install an inline RV water filter like this one on Amazon, as it’ll reduce the amount of sediment and contaminants entering your system in the first place.
6. Inspect & Clean Behind Exterior Vent Covers
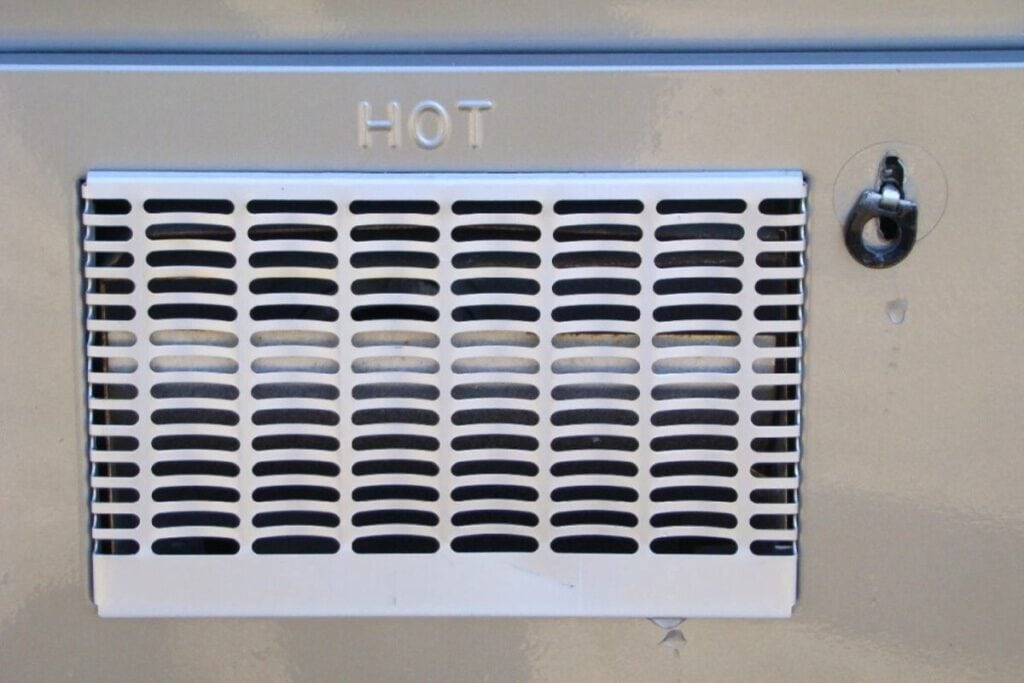
Your RV has several areas with open exposure for ventilation or drainage, behind the refrigerator, the water heater, and at the furnace intake and exhaust. Unfortunately, these openings are also perfect entry points for debris, insects, and small pests like mice. These unwanted guests can cause significant damage to wiring, and electrical components, and even gain access to the inside of your RV.
What you should be doing: Inspect these areas regularly (at least twice a year) and clean out any accumulated dirt, dust, or signs of pest activity.
To reduce the likelihood of insect and pest intrusion, it can help to install screens.
Companies like Camco make insect screens specifically designed for RV refrigerator vents, water heater vents, and furnace openings. These screens allow proper airflow while keeping unwanted critters out. They come in different sizes depending on your RV model, and installation is typically quick and easy.
7. Flush & Maintain the Water Heater
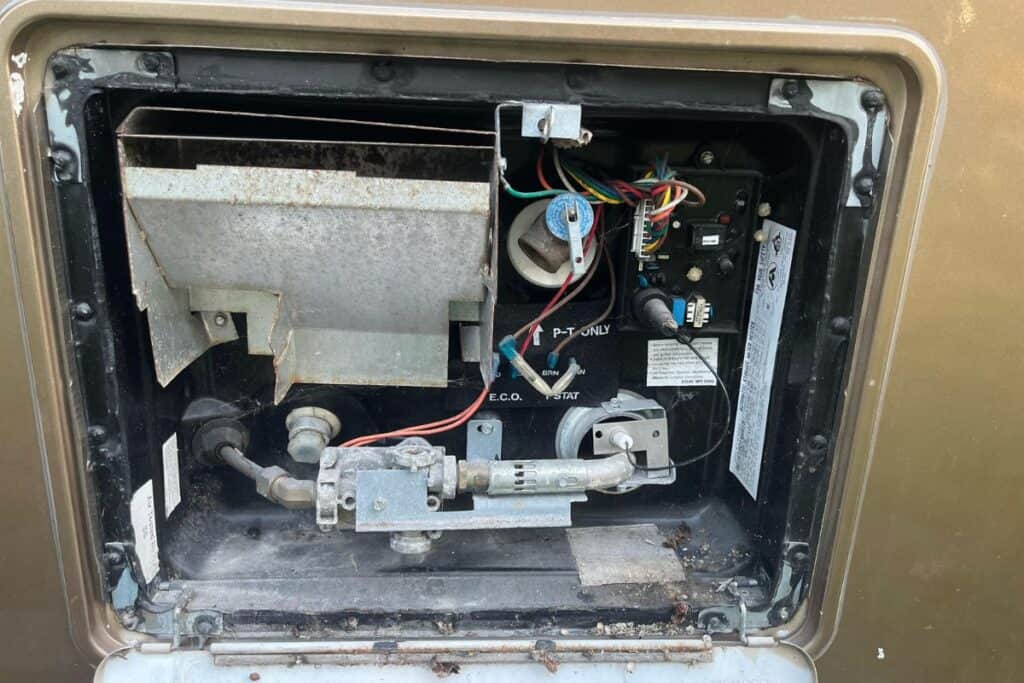
Your RV water heater works hard to provide hot showers, yet many RVers never perform any maintenance on this essential appliance beyond basic winterization.
Over time, minerals from the water build-up inside the tank, forming sediment that reduces heating efficiency and the amount of water the tank can hold.
What you should be doing: Flush your water heater at least twice a year to remove sediment, and inspect the anode rod (if your model has one) once a year.
To flush an RV water heater:
- Turn off the heater and let it cool completely
- Relieve pressure by opening the hot water tap
- Remove the drain plug (and anode rod if equipped)
- Attach a rinse wand or simply let water flush through the tank
- Replace the anode rod if it’s more than 75% depleted
- Reinstall the drain plug and refill the system
Bonus: Regularly Check for Owner’s Manual Updates
Your RV likely came with an owner’s manual full of important information about your specific model. While most of us keep this manual stored in the RV for reference, many don’t realize that manufacturers often update these manuals with new information that wasn’t included in the original version.
These updates might contain important safety notices, improved maintenance recommendations, or solutions to common issues discovered after your model was manufactured.
What you should be doing: Periodically check your RV manufacturer’s website to see if they’ve released an updated version of your owner’s manual.
Once you’ve downloaded the latest version, save a copy directly to your phone or laptop, not just in cloud storage. This ensures you’ll have access to the information even when camping in remote areas without cell service or Wi-Fi.
Final Thoughts on RV Maintenance
There you have it, seven items that might not be on your RV maintenance checklist but definitely should be. These RV maintenance chores might take a bit of time, but you’ll be glad you did them, as they’ll save you money, prevent breakdowns, and extend the life of your beloved camper.
Now that you’ve seen 7 things you should be doing, check out this blog post to see 24 things you should never do while RVing.
Recent Posts
When cruising down the highway in your RV, the last thing you want is a tire blowout! Not only is it dangerous, but RV tire replacement isn't cheap, costing $200 to $300 per tire. The good news,...
Nothing ruins an RV adventure faster than a breakdown with no way to fix it. Because of this, every RVer should have a well-stocked RV tool kit for those unexpected roadside emergencies and campsite...